/!\ Make a backup of the PSSG file you are editing first! This is very important! /!\
NOTE:[]
This program comes with a slightly confusing setup...
There is a setup.exe but at the time of writing this, the setup.exe won't work becuase it tries to connect to gridjoint.com to download the latest version.
That is why we have included the program for you along with the setup in the above rar.
Just navigate to PSSG Utility v1.0\Program and run GJ PSSG Utility.exe.
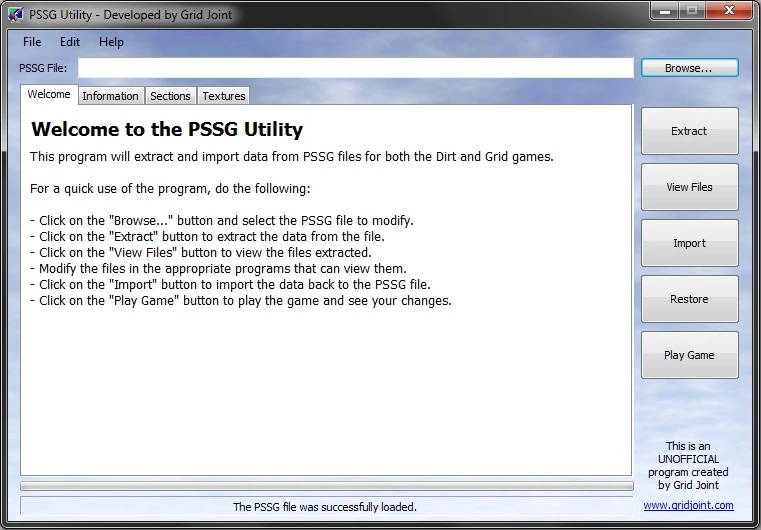
1. Open the GJ PSSG Utility.exe program
as mentioned above
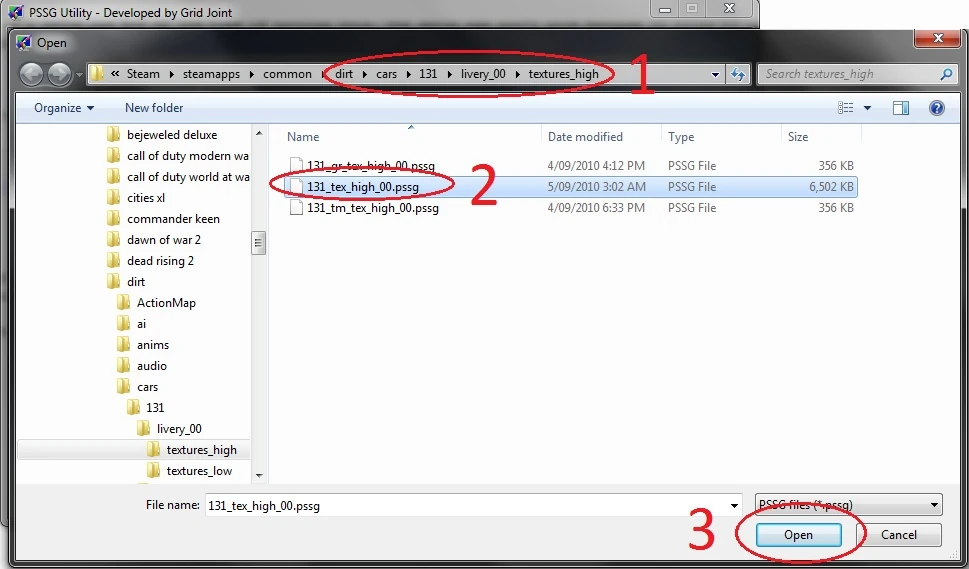
2. For the sake of this tutorial, we will be using the 131 livery PSSG from DiRT.
(dirt\cars\131\livery_00\textures_high\131_tex_high_00.pssg)
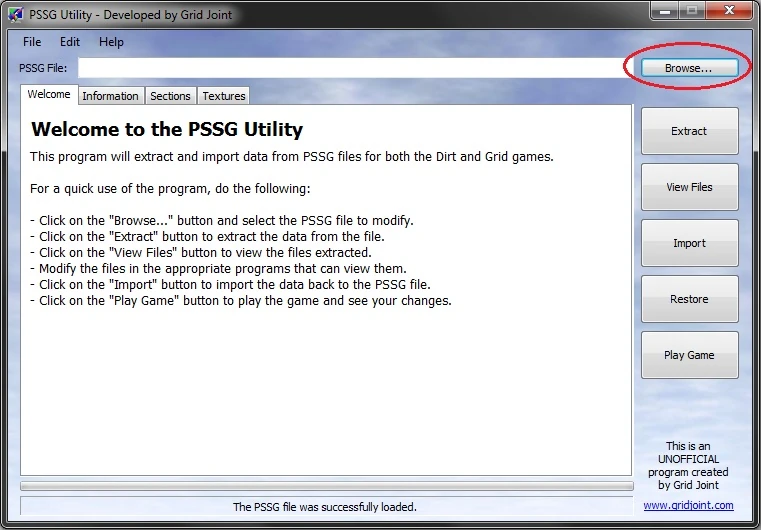
3. Open the PSSG
making sure you have made a backup first.
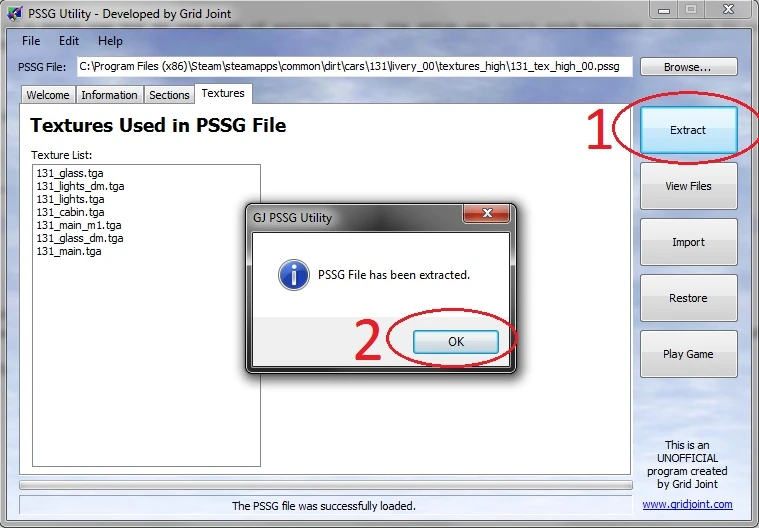
4. You should now see a list with a bold heading "Textures Used in PSSG File"
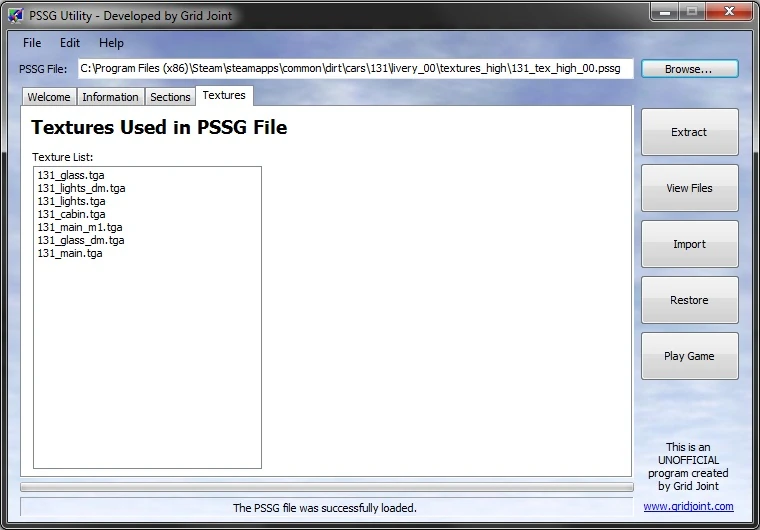
5. Press Extract
a message should appear saying the textures were extracted successfully.
Press OK
6. Now you should be able to preview the files;
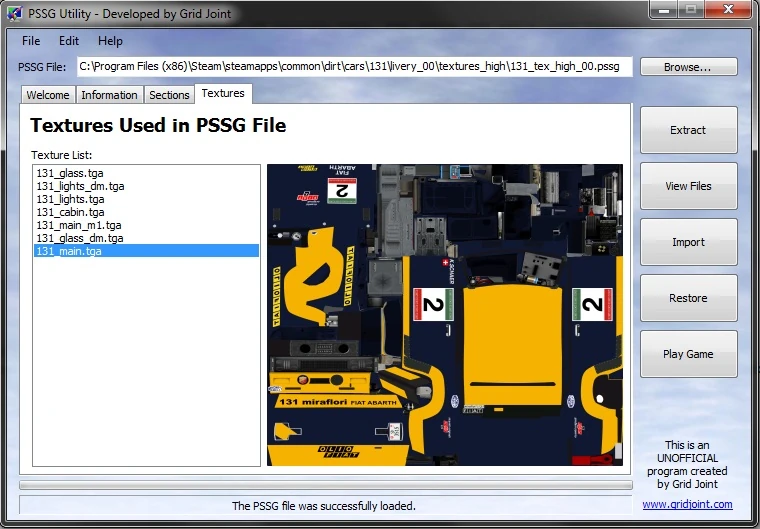
7. Press "View Files" to open the folder you extracted the textures to.
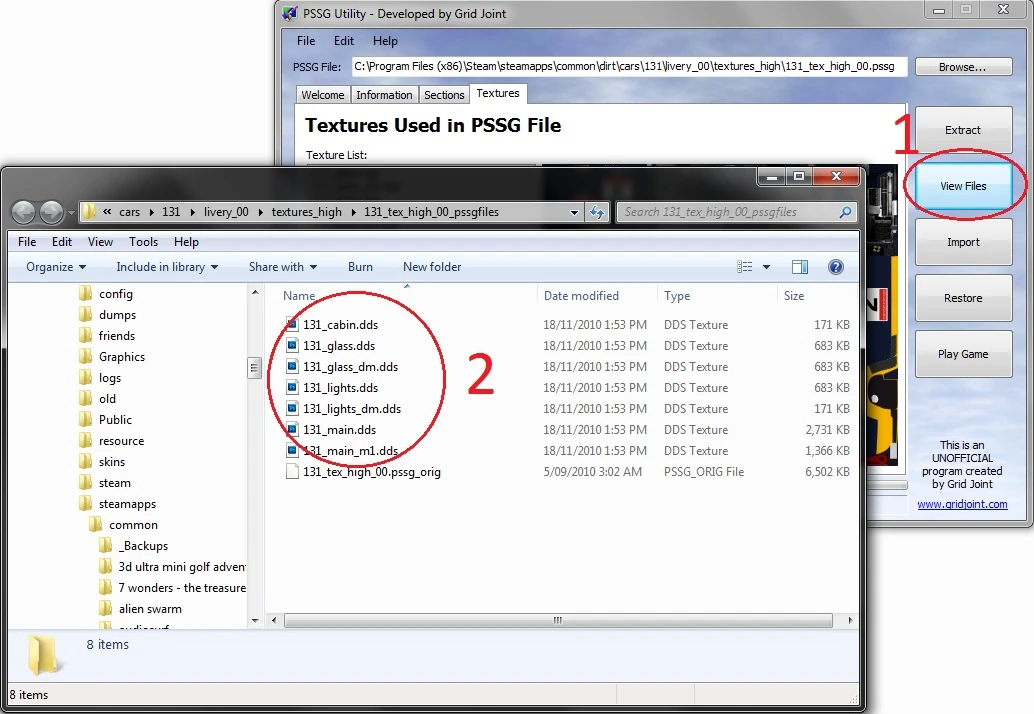
8. As mentioned in the DDS Tools tutorial;
Now open the DDS file with your favourite image editing program, in this case we will skip this step because you should already know how to edit an image.
For Photoshop, you will need the nVidia DDS plugin, which only works on the 32bit versions of Photoshop
9. Once you have finished editing the DDS file, Save it.
10. Back in the program, make sure you have the file you edited selected, in most cases it will be the "**carcodename**_main.tga" file, in this case it's the "131_main.tga".
> Press Import
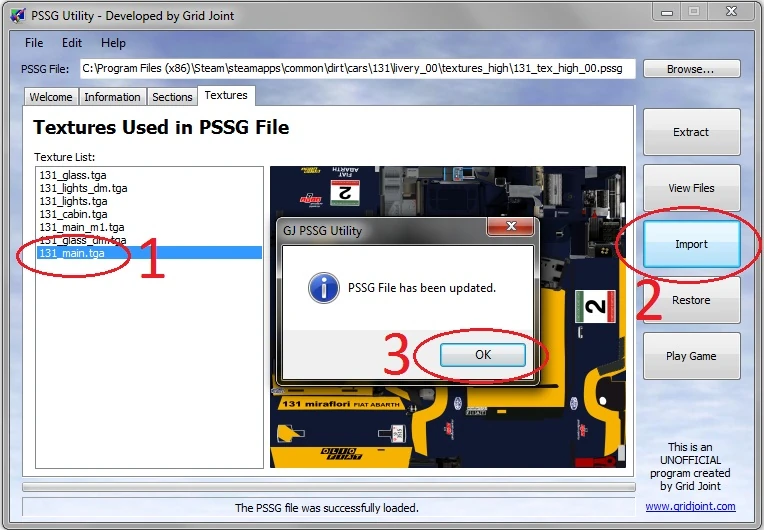
11. After you have pressed import there is no need to save the PSSG as the program already does that after a successful import.
Your modification is now ready to test!
/!\ Make a backup of the PSSG file you are editing first! This is VERY important! /!\
Troubleshooting: If you get errors try one of the following:
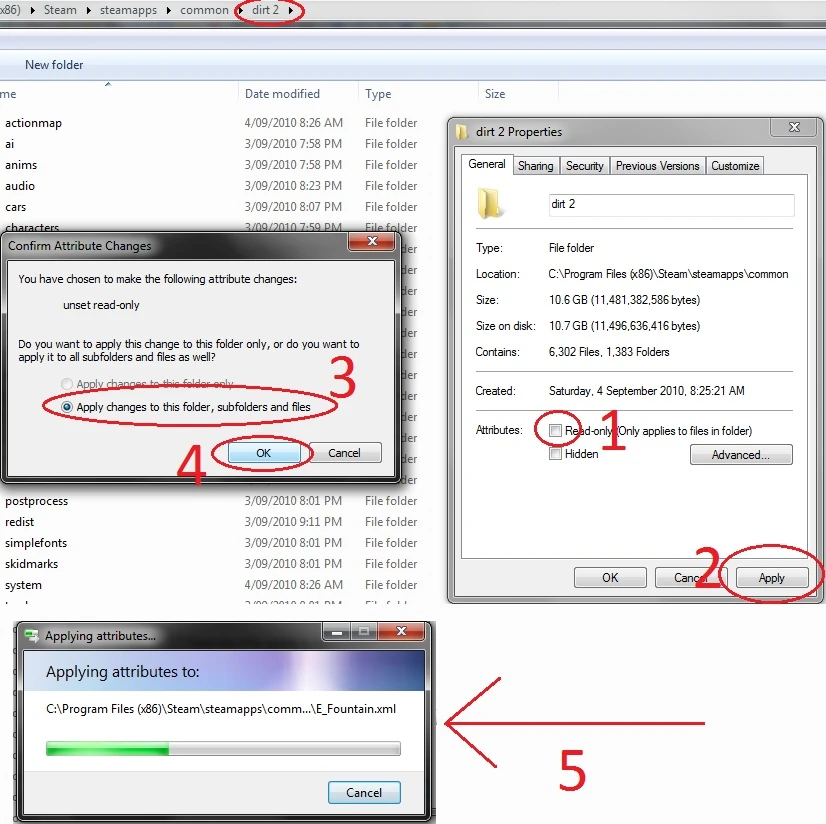
Make sure the folder that you put the files in is not readonly.
- Right click on your game folder, and uncheck the ReadOnly flag, press Apply, then choose "Apply change to this folder, subfolders and files"
Run the exe as an administrator or give it administrator rights.
- Right click the EXE and go Properties > Compatibility > Check the box with "Run this program as an administrator"
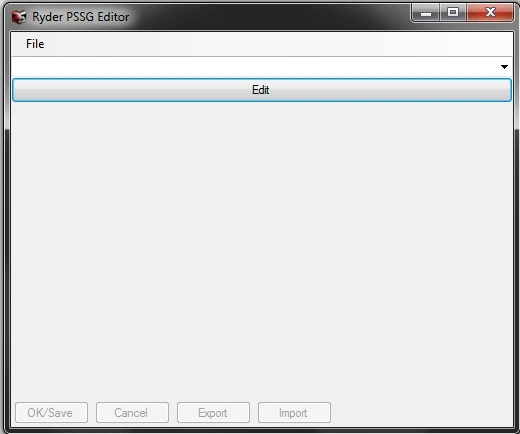
1. Open Ryder PSSG Editor.exe
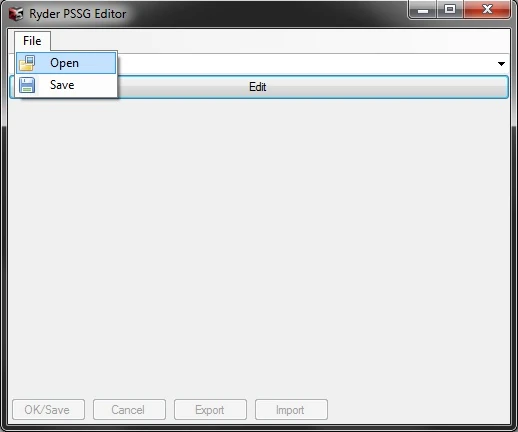
2. File > Open
3. Navigate to your desired PSSG file
making sure you have backed it up, and that you have removed the Read Only flag for the file (or all files in the game folder)
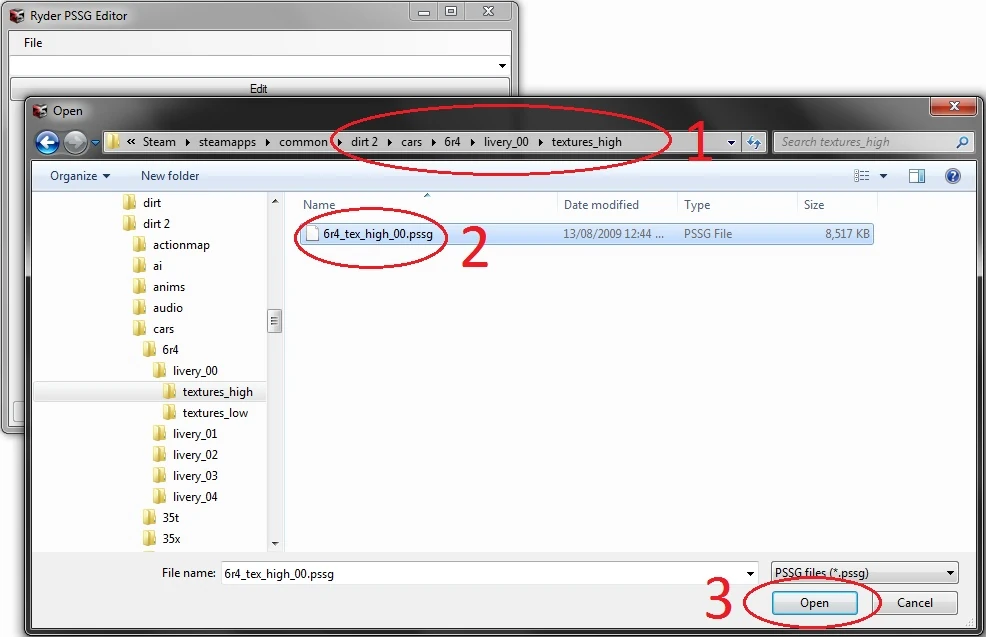
For the sake of this tutorial, we will use the same one as the DDS Tools tutorial,
"6r4" livery 00, located in "dirt 2\cars\6r4\livery_00\textures_high"
4. Now after you open the "**carcodename**_tex_high_00.pssg" file, in this case it's the "6r4_tex_high_00.pssg" file, the program will appear to do nothing, don't worry the filelist is just hiding;
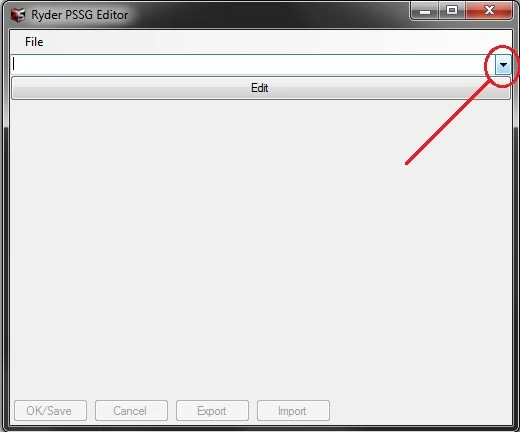
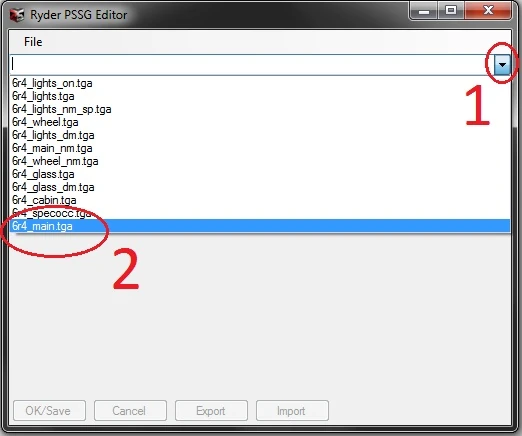
5. Open the drop down menu and choose the "**carcodename**_main.tga" file
in this case it's the "6r4_main.tga" file.
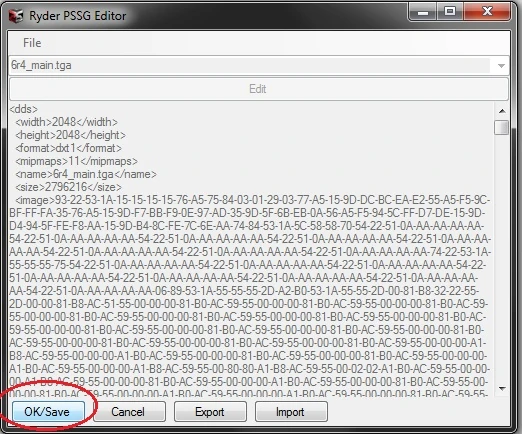
6. Press the big Edit button.
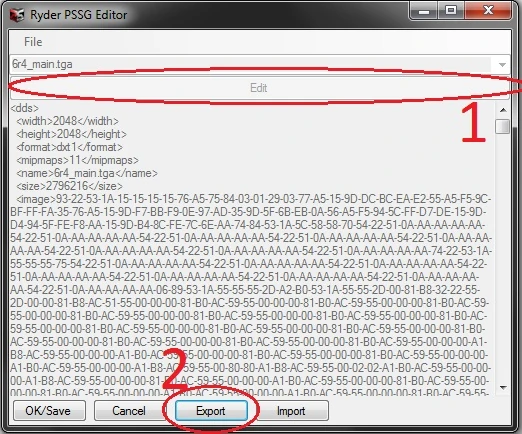
WARNING: The program will now open the DDS file as a raw text file, this makes the computer lag for a short time, (older computers will lag more)
Now you can press Export
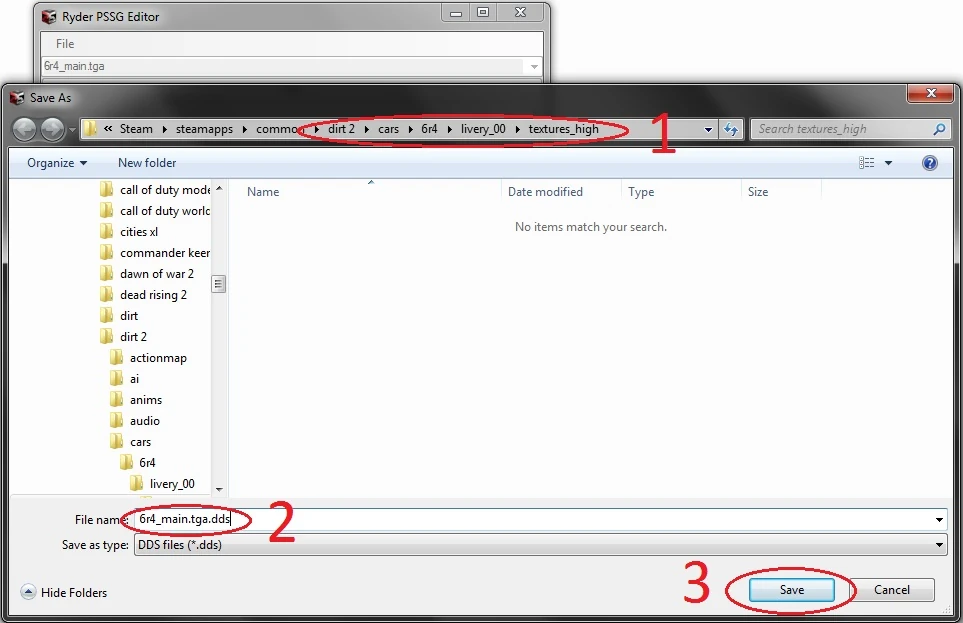
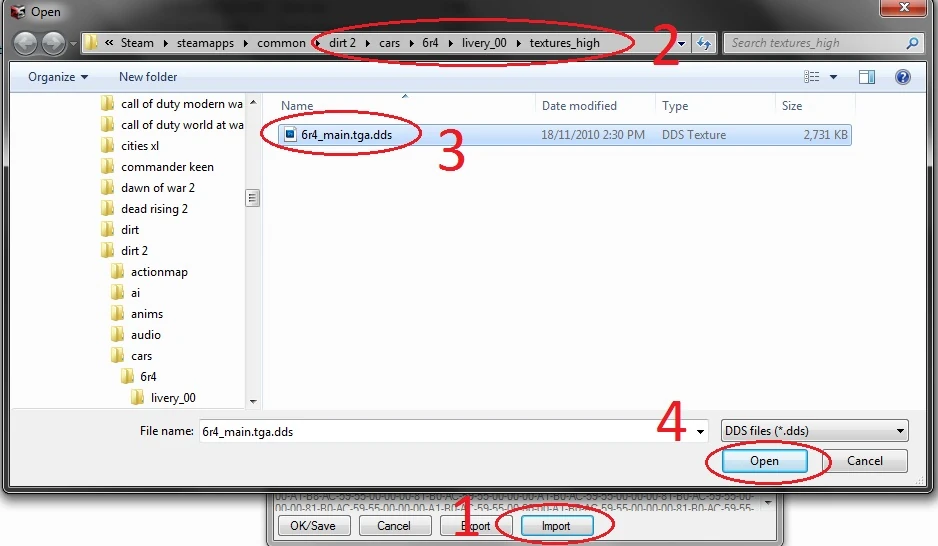
7. The export window should navigate to the folder where the PSSG is located
if not, do that now.
You will have to manually type the file name, notice how the filename actually has 2 extensions, this is important (possibly a design flaw by Codemasters). Type "**carcodename**_main.tga.dds", in this case it's "6r4_main.tga.dds".
As mentioned in the DDS Tools tutorial & the other PSSG tutorial above;
8. Open the DDS file with your favourite image editing program
in this case we will skip this step because you should already know how to edit an image.
For Photoshop, you will need the nVidia DDS plugin, which only works on the 32bit versions of Photoshop
9. Once you have finished editing the DDS file, Save it.
10. Back in PSSG Editor.exe, press Import and navigate to your edited file.
WARNING: The program will now open the DDS file as a raw text file.
Again, this makes the computer lag for a short time, (older computers will lag more)
11. Press OK/Save
(bottom left button)
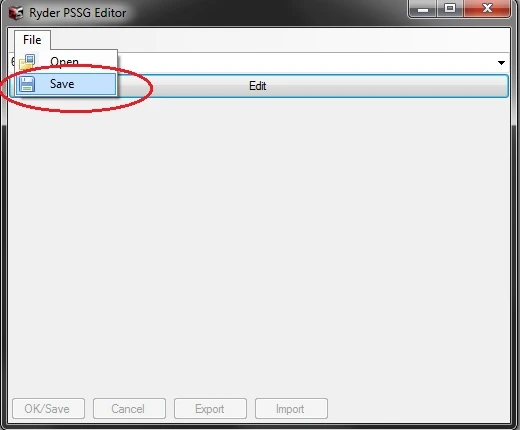
12. Go to the File menu, and press Save (Yes you have to save it twice, the first one {step 12} is to save the DDS file within the PSSG, this time to save the PSSG itself)
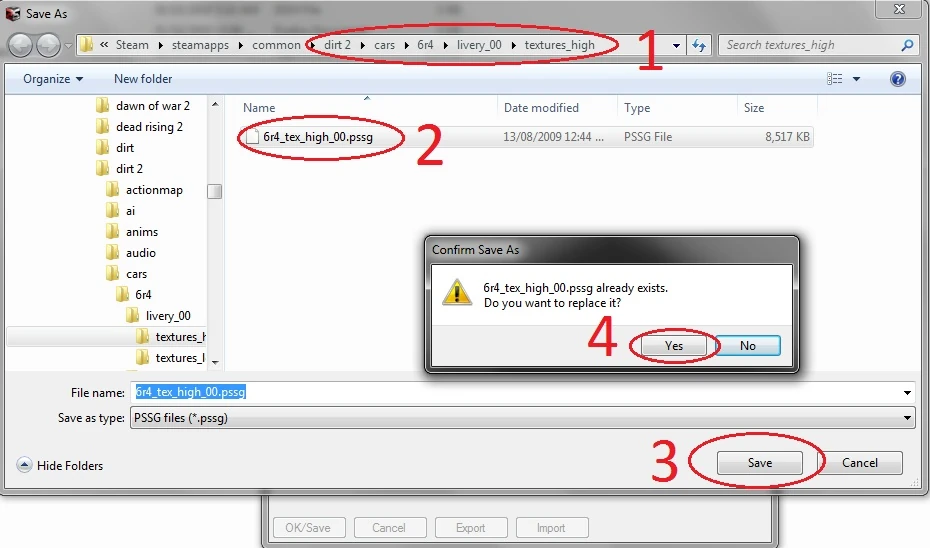
13. Navigate to where the original PSSG is, save & overwrite it
!!!! This is your last chance to backup the PSSG before it's unrecoverable !!!!
Done!